Updated 3/1/2026
Known for its smooth surface, consistency, and ease of cutting and shaping, MDF has become a go-to material for many DIY enthusiasts and professionals alike.
However, its susceptibility to water damage can be a significant drawback, leading to swelling, warping, and deterioration when exposed to moisture.
This is where waterproofing is crucial, as it extends the lifespan and maintains the integrity of your MDF projects.
In this comprehensive guide, we will explore various techniques and products to effectively waterproof MDF, ensuring it withstands the test of time even in moisture-prone environments.
From selecting the right sealants and primers to step-by-step application processes, we’ll cover all you need to know to protect your MDF creations from the damaging effects of water.
Let’s get started!
Can MDF Be Waterproofed?
MDF, or medium-density fiberboard, is engineered wood made from heat-pressed wood fibers. It’s known for being strong and dense yet easy to work with and cut.
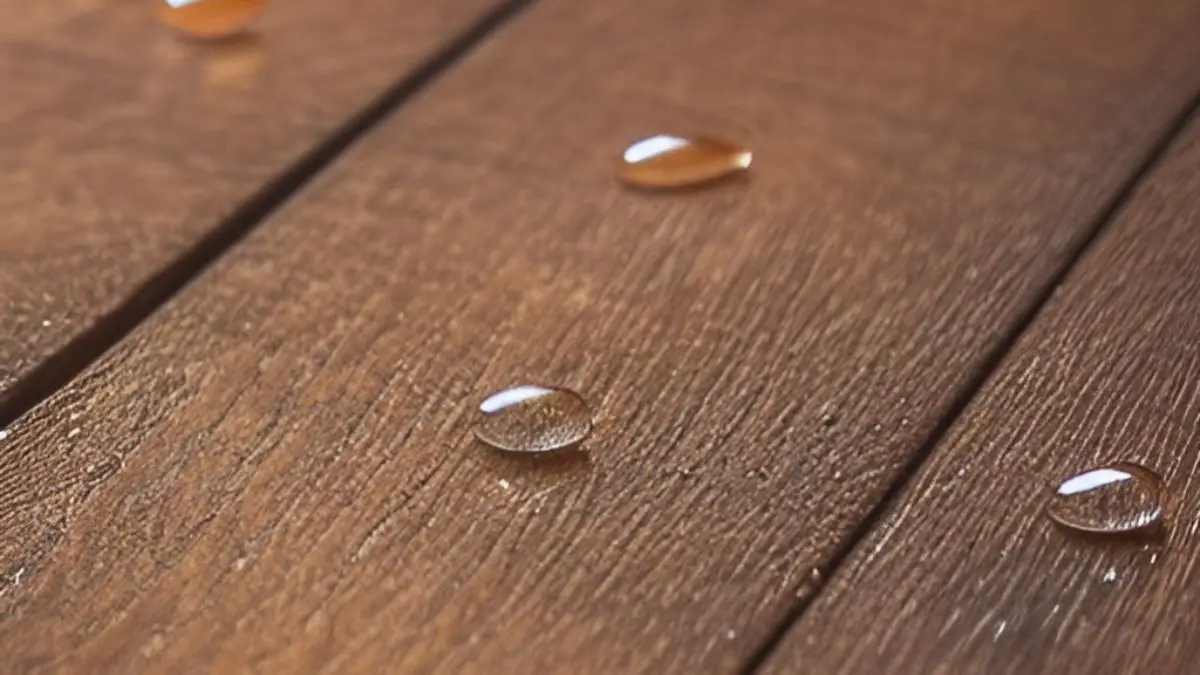
Out of the box, MDF is not waterproof. Even brief contact with standing water can cause the surface to swell and the internal fibers to pull apart. That said, MDF can be sealed well enough to resist moisture for most indoor projects.
The key word is resist. Properly sealed MDF handles humidity, occasional splashes, and light moisture exposure without a problem.
It does not handle long-term water contact, outdoor exposure, or standing water.
If your project will live outside or in a constantly wet environment — a bathroom floor, an outdoor sign, a deck surface — MDF is the wrong material, no matter how well you seal it.
For those jobs, marine-grade plywood or an exterior-rated board is the better choice.
For indoor furniture, cabinetry, shelving, and decorative work, waterproofing MDF is worth the effort and makes a real difference in how long the piece lasts.
Weatherproof vs. Waterproofing MDF
Though “weatherproof” and “waterproof ” are often used interchangeably, there is a big difference between weatherproofing and waterproofing.
Weatherproofing refers to making a material resistant to weather effects, such as sun damage or mold growth.
On the other hand, waterproofing means making a material impervious to water. So, if you want to protect your MDF from the elements, you’ll want to weatherproof it.
And if you’re looking to protect your MDF from water damage, you’ll want to waterproof it. Of course, the best way to protect your MDF is to do both!
Best Methods to Waterproof MDF
There’s no single method that works best for every project. The right choice depends on how much moisture the piece will face, what the finished surface needs to look like, and how much time you have.
Seal with Primer and Paint
For most indoor MDF projects, a quality oil-based primer followed by paint is the most practical approach. Avoid water-based primers at this stage — they introduce moisture into the surface before it’s sealed, which works against you. Oil-based primer soaks into the surface and seals the fibers without causing swelling.
Apply the first coat of primer and let it dry fully — usually two to four hours for oil-based products. Once dry, sand lightly with 220-grit sandpaper to smooth any raised grain, wipe clean, and apply a second coat. Two coats of primer before paint gives you a properly sealed base.
Follow with two coats of paint, letting each coat dry completely before adding the next. For surfaces that get regular use — cabinet doors, shelving — a semi-gloss or gloss finish holds up better than flat paint and is easier to wipe down.
Use Wood Sealers or Varnish
For projects where you want a clear finish or stronger surface protection without paint, wood sealers and varnish are the better option.
Polyurethane is the most widely used sealer for MDF. It creates a hard, durable film that resists moisture, scratches, and daily wear.
Oil-based polyurethane takes longer to dry but produces a tougher finish than water-based versions.
Apply it in thin, even coats with a quality brush — thick coats tend to bubble and take much longer to cure.
Lacquer dries faster than polyurethane and produces a smooth, hard finish. It’s a good choice when turnaround time matters, though it requires good ventilation and is less forgiving to apply.
Spray lacquer gives the most even results on flat MDF surfaces.
Shellac works well as a sealing and priming layer before a topcoat, especially on edges and end grain.
It bonds well to porous surfaces and creates a solid base for paint or varnish. It’s not durable enough on its own for surfaces that take direct contact, but as a sealing layer it does the job well.
Epoxy Resin (Maximum Protection)
For the highest level of moisture protection — countertops, workshop surfaces, bathroom vanities, or any MDF that will see regular liquid exposure — epoxy resin is the most effective option.
A two-part epoxy coating creates a thick, waterproof surface that moisture can’t penetrate.
It takes more effort to apply than paint or polyurethane. You need to mix it carefully and keep the surface level during curing.
But the result is a hard, protective shell that outlasts every other finish option. It also self-levels to produce a smooth, glossy surface without brushstrokes.
Epoxy is overkill for a decorative panel or a simple shelf. For anything that will have cups, sinks, or regular liquid contact on it, it’s the right tool for the job.
Step-by-Step Waterproofing Process
1. Sand the surface. Start with 120-grit to remove any surface marks or rough spots, then finish with 180 or 220-grit for a smooth base. MDF edges are often rough and slightly uneven straight from the cut, and sealer applied to an unsanded edge won’t bond well.
2. Apply wood filler to any voids, chips, or rough sections along the edge. MDF edges often have small gaps that won’t disappear under sealer alone. Let the filler dry fully and sand it flush.
3. Seal the edges. Apply a coat of PVA glue thinned with water — about a 4:1 ratio of PVA to water — directly to the edges. This first coat soaks into the fibers and creates a base that primer or sealer can bond to. Let it dry fully, then sand lightly with 220-grit.
4. Apply primer or sealer. Use an oil-based primer for painted finishes, or your chosen wood sealer for a clear finish. Apply thin, even coats and allow full drying time between each one. Two coats minimum.
5. Sand lightly between coats. A light pass with 220-grit between primer coats smooths any raised grain and gives the next coat a better surface to bond to. Wipe clean before moving on.
6. Apply paint or topcoat. Follow the PVA coat with two coats of your chosen primer or sealer, sanding lightly between each coat. By the time you’re done, the edge should feel as smooth and solid as the face of the board. If it still feels rough or porous after two coats, add a third.
7. Allow proper cure time. A finish can feel dry to the touch in a few hours but not reach full hardness for 24 to 72 hours, depending on the product. Putting a sealed MDF piece into use before it’s fully cured will shorten its life.
Where Waterproof MDF Works — and Where It Doesn’t
MDF holds up well for:
Indoor furniture — tables, desks, and bed frames — handles sealed MDF without issue as long as spills are wiped up quickly.
Interior cabinetry, including kitchen uppers, bathroom vanities, and built-ins, is one of the most common uses for sealed MDF, and it performs well when properly finished.
Decorative panels, shelving, and trim work are all solid applications where sealed MDF will last for years with normal care.
MDF should not be used for:
Any outdoor application is off the table. Even with heavy sealing, MDF breaks down quickly when exposed to direct sunlight, rain, and changing humidity.
The resin binders deteriorate, the fibers swell, and no sealant holds a permanent waterproof barrier against constant outdoor exposure.
Standing water environments — bathroom floors, laundry rooms without good ventilation, areas near floor drains — are also a poor fit.
Sealed MDF can handle ambient humidity, but it cannot handle water sitting against its surface for long periods.
For those environments, moisture-resistant MDF (often called MR MDF) or a different material entirely is the smarter choice.
Frequently Asked Questions (FAQs)
Is MDF waterproof if painted?
Paint alone doesn’t waterproof MDF — it’s the primer and sealing layers underneath that do the work. Paint over a properly sealed surface adds an additional layer of protection and makes the surface easier to wipe clean, but skipping the primer and going straight to paint leaves the MDF vulnerable. Use an oil-based primer first, then paint, for a finish that actually resists moisture.
Is MDF ruined if it gets wet?
It depends on how much water and how quickly you address it. Surface moisture caught early can often be dried out and repaired. Water that soaks into unsealed MDF — especially at the edges — causes swelling and fiber separation that may be too extensive to repair cleanly. If the board has warped significantly or the fibers have broken down, replacement is usually the more practical option.
Can MDF survive outdoors?
MDF is not designed for outdoor use. The wood fibers, resin binders, and wax that make up the board all degrade under direct sun, rain, and humidity cycling. Even heavily sealed MDF will break down faster outdoors than most alternative materials. For outdoor projects, use marine-grade plywood, exterior MDF specifically rated for outdoor use, or a solid wood species that handles weathering well.
Can you use exterior paint on MDF?
Yes. First, seal the MDF with a primer designed for porous surfaces. This will help close off the MDF’s pores and create a smooth surface for the paint to cling to. Next, choose an exterior paint that is suitable for use on wood. Apply several coats, allowing each one to dry thoroughly before adding another.
Wrapping it Up
MDF is affordable, smooth, and easy to work with — but it needs protection to last. Left unsealed, even a small amount of moisture can cause real damage in a short amount of time.
Waterproofing MDF isn’t complicated. It just requires the right products, the right order of steps, and enough patience to let each coat cure before moving on.
Oil-based primer, a quality sealer, and proper edge treatment cover the basics for most indoor projects. For surfaces that see heavier moisture exposure, epoxy resin takes the protection level up significantly.
The edges are worth repeating — they’re the most vulnerable part of any MDF project and the most commonly overlooked. Seal them as carefully as you seal the faces, and your finished piece will hold up far longer.
Done right, sealed MDF holds up well for years in the right environment. Done wrong, it fails faster than almost any other building material. The difference comes down to prep — and now you know exactly what that looks like.