Updated 3/24/2024
Ever wondered how to glue plexiglass together without making a mess or ending up with a weak joint? You’re not alone!
Because of its smooth surface, gluing plexiglass can seem tricky, but don’t worry—we’ve got you covered.
In this guide, we’ll share some straightforward steps and handy tips to help you achieve a strong, clear bond.
Whether you’re dabbling in a DIY project or something a bit more ambitious, learn how to glue plexiglass together like a pro in the next section!
What You’ll Need:
- Exhaust fan
- Safety gloves
- Goggles
- Facemask
- Acrylic glue and adhesive tape
- Applicator bottle
- Suitable surface
- Alcohol
How to Glue Plexiglass Together
There are a few differences between gluing acrylic and other materials, such as wood or paper. If you’re looking for something other than glue, acrylic cement is your best bet.
The procedure may be pretty straightforward if you’re careful, methodical, and patient.
Here’s how to glue Plexiglass together!
Step 1: Find a Suitable Place to Work
Make sure you’re in a well-ventilated place before you begin working with glue that may produce fumes, such as in the open air or with several windows.
Place your workspace in between windows and an open entryway. Box fans that direct the air away from you are also an excellent idea.
Another option is to use an exhaust fan in the room.
Step 2: Ensure That You Take the Necessary Precautions
This procedure includes wearing gloves, safety goggles, and a facemask.
Apart from protecting yourself from acrylic cement fumes, it would be best to watch out for any sanding or cutting debris that might go into your mouth, nose, or eyes.
Also, carefully follow the instructions on the acrylic cement to avoid any mistakes.
Step 3: Find a Suitable Surface to Work
If you want to glue in a garage, workroom, or even your kitchen, be sure that the surface area you’re employing is suitable for acrylic cement.
If possible, stick to a metal, concrete, or wood surface. Acrylic should never adhere to a glass or paper surface.
Step 4: Take a Look at the Acrylic Edges
Check that the acrylic’s edges are smooth and free of cuts or bumps before attaching the pieces.
Acrylic glue will not cling to wood or paper-like regular glue or seep into cracks and fissures.
As a result, they must be as flat as possible to prevent the acrylic from softening and forming a chemical link with each other.
Using routers or light sandpaper, make sure the edges are precisely smooth and square. While sanding the edges to make them round is okay, avoid doing so.
A highly smooth surface is difficult to join; therefore, make sure the surfaces are bonded together, sanded gently, and not shining.
Step 5: Use Alcohol to Disinfect the Acrylic
You may use alcohol and a clean cloth to wipe the acrylic once you’ve sanded and smoothed it.
To ensure that all dust, debris, and other particles are eliminated, use alcohol.
It will also eliminate any oils from your hands that can hinder gluing. All of your surfaces must be dust-free before you begin.
Step 6: Prepare the Acrylic Glue
Solvent-based acrylic glues like Weld-On 4 are the most frequently used glue for gluing Plexiglass.
Additionally, you should include a needle and an applicator bottle with this adhesive. Using a funnel, fill the applicator bottle to roughly seventy-five percent capacity.
Once the bottle has been completed, gently squeeze the bottle to let some of the air out of the bottle.
Step 7: Put the Acrylic Parts Together
Assemble the acrylic pieces into the desired configuration. You should form a 90-degree angle between them.
You can then use a combination square to ensure the pieces are appropriately angled.
After being put up, you may either use your hands or a clamp to keep the portions together.
Before applying any adhesive, always perform a dry run to ensure all components fit together.
You can build the item using adhesive tape. To avoid juggling the pieces, you may apply the glue precisely and without fuss.
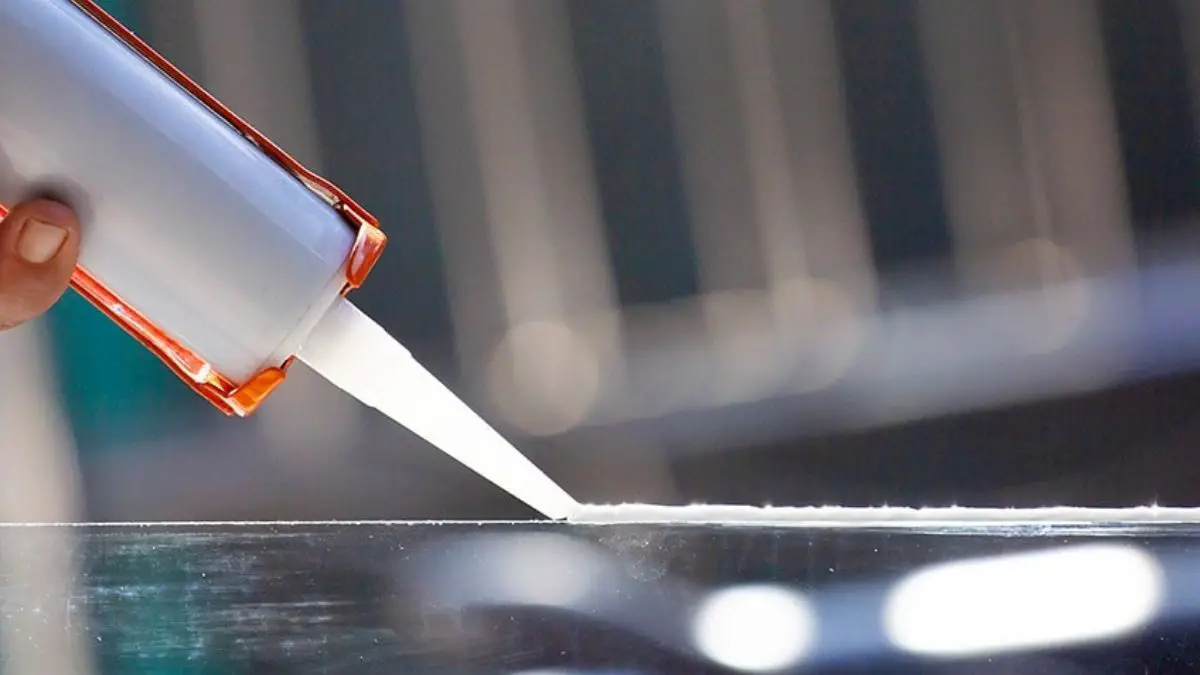
Step 8: Apply Glue by Positioning the Applicator Bottle
Place the needle just above the point where the pieces of the acrylic encounter when the bottle is upside-down.
Using a little pressure, squeeze the bottle along the joint lines.
You’ll want to bring the bottle closer to your face. As you move the acrylic cement, it should fill in any gaps or seams that may be present.
You may avoid over-gluing the acrylic by squeezing the bottle and moving it without pausing.
Apply the acrylic glue to the inner edge of the sheeting if you are gluing for a box corner junction.
Apply the cement on both sides of the sheets if you are gluing for flat joins.
Acrylic cement should not contact any parts of the acrylic that you do not wish to be cemented.
Acrylic cement irreversibly damages many surfaces it comes into contact with. If you drop it onto acrylic, allow the cement to evaporate, and do not try to remove it.
Step 9: Let the Acrylic Cement Dry
The first setting time for most acrylic cement is between 10 and 15 minutes. During this process, you may keep the edges together using a clamp or your hands.
They should be ready to use within 24-48 hours after being firmly attached.
Acrylic cement that has cured and is transparent indicates that the components have been properly attached.
The acrylic should have appeared hazy white before this point.
Step 10: Trim The Acrylic
You may use a router to remove extra or overlapping acrylic pieces.
On the other hand, you should avoid excessive heat generation since it might melt the acrylic.
Before altering the acrylic, ensure it is well set and that the Plexiglass isn’t scratched.
Frequently Asked Questions
What is the best glue for Plexiglass?
In addition to connecting Plexiglass to itself, SCIGRIP glue may be used to bond different plastics to Plexiglass or Lexan.
It is designed for industrial-grade acrylics and can be purchased online or at your local hardware/home improvement store.
Does Gorilla Glue work on Plexiglass?
Because Gorilla Glue is activated by moisture, and Plexiglass is not permeable, Gorilla Glue is not ideal for Plexiglass.
Can you use silicone on Plexiglass?
Silicone does not adhere to Plexiglass. In the long run, any silicone used to hold plastic together will break down and become useless.
Can you use PVC glue on Plexiglass?
PVC glue will not work on Plexiglass. You’ll need to use acrylic cement.
Wrapping it Up
And there you have it! Gluing plexiglass together doesn’t have to be a daunting task. With the right approach and a bit of patience, you can achieve seamless, durable bonds that bring your projects to life.
Remember, the key is in the preparation and choosing the right adhesive for the job. Take your time, follow these tips, and soon you’ll be handling plexiglass like a seasoned pro.
So, go ahead and give it a try on your next project.
Until next time, readers!