Updated 3/9/2023
At some point, changing the blade on your DEWALT miter saw will become a necessity due to general damage or dullness.
Doing so will guarantee that you restore the optimum working capacity of your miter saw and avoid potential accidents caused by poor alignment or loose fitting.
Follow the steps below to ensure maximum performance and safety while replacing the blade!
Step 1: Unplug the Miter Saw
Begin by unplugging your DEWALT miter saw from its power outlet, and unlocking the saw. The process of unplugging is crucial for maintaining personal safety.
Ignoring this step can be extremely dangerous because the saw can start inadvertently and cause grievous injuries.
There is also the risk of suffering electric shocks if you fumble with the electrical systems of the saw while it is still plugged in.
Step 2: Raise the Guard
It is necessary to raise the guard of your miter saw to allow to enable you to proceed with the task of loosening the blade.
Experts recommend that you should use the right hand to execute this step.
Step 3: Adjust Your Bracket Screw
The next feature you should find is the bracket screw. This screw is positioned at the front of the DEWALT miter saw’s arbor bolt.
You have to make the screw loose enough by turning it gently in a counter-clockwise direction.
Once you have loosened this screw, you should lift the blade guard to a level that allows easy operation.
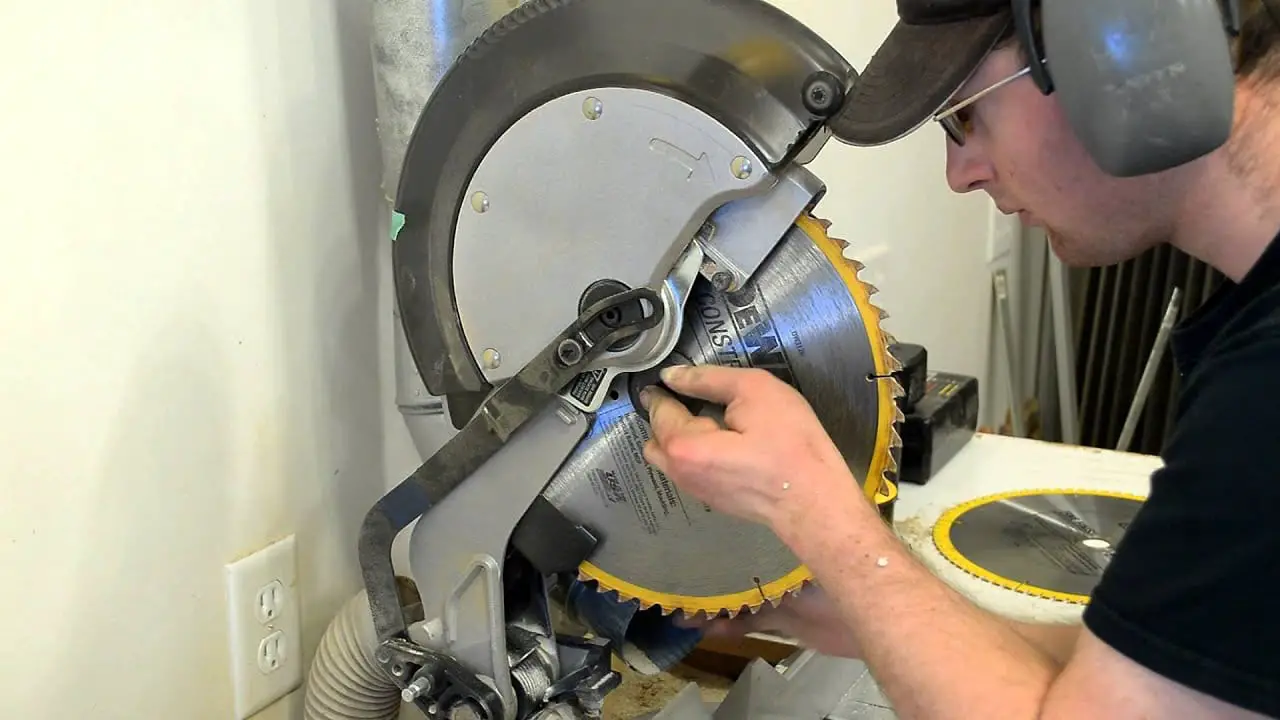
Step 4: Blade Removal
Move the blade slowly while managing the spindle lock with gentle pressure.
Ensure that the spindle lock is sufficiently depressed so that the saw is locked in place to allow for the next steps.
Step 5: Loosen the Arbor
You should then manage the arbor bolt by turning it gently clockwise with the help of the wrench.
In the meantime, you should hold the spindle lock carefully for easy operation.
You should then remove your saw’s arbor bolt, followed by the washer, before removing the blade carefully from the arbor.
Step 6: Placing the New Saw
The next step involves placing your replacement saw blade on the DEWALT miter saw’s arbor. Make sure that the teeth at the blade’s downside are directed toward the back of the machine.
The next move is supposed to manage the blade. This step involves using a wrench to tighten the saw’s washer.
The same procedure is also necessary for fixing the arbor bolt. Once the saw is managed, you should proceed to free the spindle lock.
Step 7: Check the Guard and Perform a Test Cut
This step involves moving the guard downward onto the bracket screw. You should follow this procedure by tightening the screw in order to manage the upper guard of your DEWALT miter saw.
Ensure that your miter saw’s lower guard covers the blade’s lower part.
Once you are satisfied with the procedures, return the saw to the socket and give it a test cut to confirm that it is in perfect working order.
I hope you enjoyed this article, and that you’ve learned how to change the blade on a DEWALT miter saw!
Related Posts:
Makita LS1040 Compound Miter Saw Review 2021