Updated 7/30/2021
If you like to dabble in woodworking and want to know how to make raised panel cabinet doors on a table saw, you’ve come to the right place!
Or, if you are new to woodwork, this article can give you the morale boost you need to jumpstart your woodworking endeavors.
Either way, for someone who has little to no experience with woodwork and table saws, this article can help create a do-it-yourself raised panel cabinet door in a few simple steps.
How to Make Raised-Panel Cabinet Doors
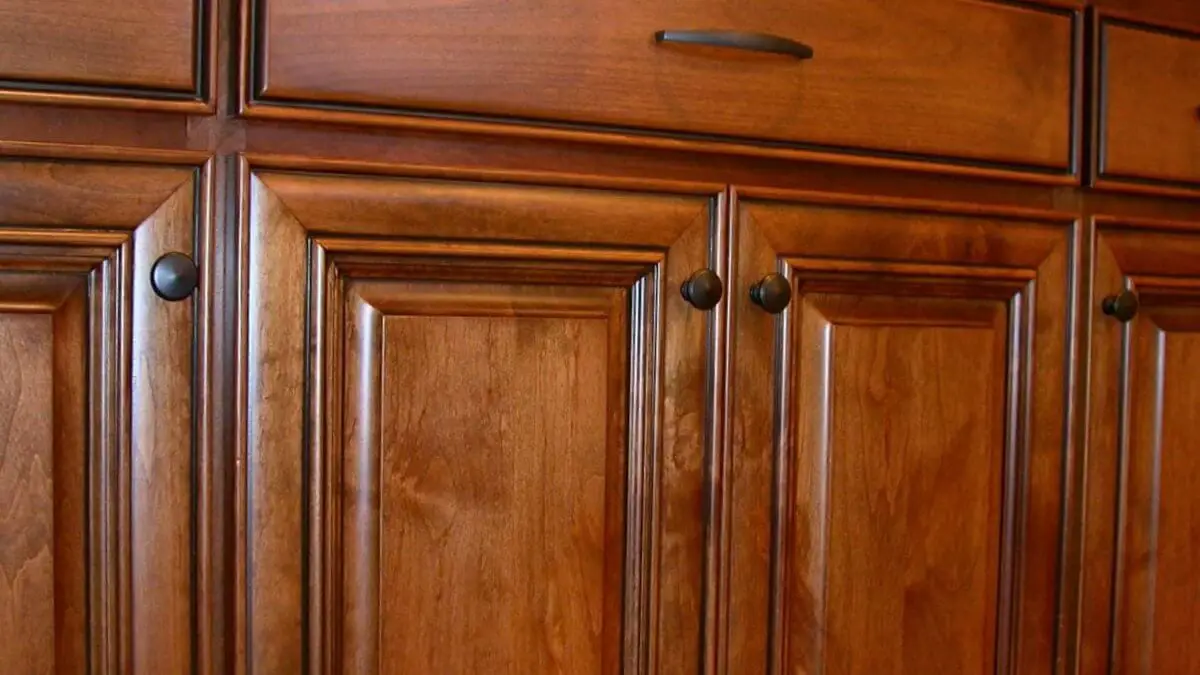
A raised cabinet door is a panel of wood that starts to rise as it moves inwards. It almost imitates a structure that would result in cutting off the tip of a pyramid.
I’m sure you must have seen kitchen or laundry room cabinet doors with a certain depth right after their edges, and then the diagonal merges into a flat plain.
These doors are called raised panel cabinet doors.
Raised cabinet doors or raised panels, for that matter, are straightforward yet classy. They have been around for ages, and even today, they can be found in most households.
It is a rather elementary design when you think about it. However, something about it is very appealing.
Now, let’s talk about how to how to make raised panel cabinet doors on a table saw!
Required Tools and Inventory
The best part about this tutorial is the fact that you don’t require many tools. The only tool that we are going to utilize in making these cabinet doors is a table saw.
Yes, that is exactly why our title is “How to Make Raised-Panel Cabinet Doors on a Table Saw”.
You do not require any additional tools, except for the final touches.
Here is everything that you will need:
- A block plane or a smoothing plane
- Two or more universal table clamps depending on the size of your panel
- An extra piece of wood panel, a little larger than your panel
- A tape measure
- A table saw
Step #1: Taking Measurements
The very first step in the process is to take measurements of your door face for which you want to make this panel. The method of taking these measurements is simple, first of all, you have to calculate the interior width of the cabinet.
If it’s a larger cabinet that requires two doors, you will add an inch to the interior width and divide it by two. This will give you the width for each of the doors.
If you have a smaller cabinet, you will simply add an inch to the interior width, and that would be the width of your cabinet’s door.
For the height, simply calculate the height of the cabinet from top to bottom. The same height should hold for the doors.
Step #2: Making the Frame
Once you have taken the measurements, you will now make a frame for your raised panel cabinet door. The frame will hold the raised panel in between.
To make the frame, you will have to cut four woodblocks. These will represent the length and the width of your door.
The inner part of the frame is supposed to be empty.
This is where you will fit your raised plane. Be mindful that you take the correct width for these blocks.
If you are cutting them out of the same block from which you will make the panel, you will require a larger piece than your calculated width and length of the door.
It is better to have the frame made separately. Getting the right length and width is crucial, or else your door will not fit.
Step #3: Putting the Blocks Together
Once you have these blocks cut out, you will now put them on the table saw and make a straight groove right in the middle of these blocks. This groove will hold the panel between these blocks.
You can adjust the width and depth of this groove according to your design. However, typically, you can let these grooves be a quarter-inch wide and three-quarter inches deep.
You will set your table saw fence to a quarter-inch and then run the saw through the center of each of these blocks.
You now have the frame with grooves cut right in the center on the inner side, where you will fit the raised plane.
Step #4: Fitting the Frames
To make these frame blocks fit better, you can cut the edges of each of these blocks so that they fit into each other.
Just like a jigsaw puzzle piece, if the length block has an ending slimmed out, the adjacent width block will have a depth cut out, so it fits.
If you feel this is a little too complicated, you can make these frame-blocks such that you glue them or nail them together, but not until you have placed the raised plane.
Step #5: Making the Raised Panel
Now we start on the raised panel. You will now make a boundary on your panel. This boundary will help you in identifying how steep your panel has to be.
You will make these boundaries on the face of the panel, as well as the side of the panel, to ensure a perfect diagonal cut.
You will require a larger piece of wood to which you will clamp your panel in order to keep it steady.
Usually, the fence on the table saw is not large enough to keep a structure as big as a cabinet door steady, especially when it comes to makes diagonal edges.
The next and the most crucial part is to cut out a raised panel. You must now set the blade height so that its teeth are at the same level as your boundary outline on the face of the panel.
Next, you will tilt the saw blade to the same degree as your boundary on the side of the panel. Bring the fence closer to the saw blade and ensure that the blade is intersecting the side boundary.
Start the saw blade machine and let it through the panel. You will have your panel raised from one side.
Now repeat the same for all four sides, and make sure to clamp your panel tightly.
At the end of this step, you should have a raised panel ready to fit in the frame. However, we are not done just yet!
Step #6: Smoothing it Out
You will now use your block plane or smoothing plane to smooth out any burn marks or blade marks on the plane.
This will give it a better finish and ensure that the panel fits perfectly in the frame.
Step #7: Putting it Together
Put three pieces of the frame together and join them.
Next, you should slide the panel into the frame and close the cabinet door’s fourth side.
You now have completed a raised panel cabinet door.
We hope that the aforementioned seven simple and easy steps to create a raised panel cabinet doors on a table saw were worth your while.
Happy woodworking!