Updated 3/24/2024
Wanna know how to glue wood together without clamps? It’s easier than you think!
Clamping wood planks together before applying the glue is a standard procedure followed by expert woodworkers everywhere. It helps get a tight fit and allows more control.
However, novice wood enthusiasts usually don’t have a variety of clamps readily available to handle different projects.
Does that mean they should just stop their work?
Absolutely not!
Today, we will learn how to glue wood together without clamps!
Types of Wood Glue You Can Use
The first thing to do is to choose the right glue for your project. With several different types of glue available in the market, it can be challenging to pick out the most suitable choice.
You should take into account the following factors…
- Type of wood in use
- Bond durability
- Waterproofness
- Flexibility or movement required
Different glue types have different properties. Some of them tend to dry instantly, while others can take the whole day.
Certain glues are waterproof hence useful for a rainy, outdoors environment, but others are not.
First, consider whether your project is meant for an indoor environment or outdoors.
The next thing to determine is how quickly you need the glue to set and cure.
Lastly, don’t forget to check your wood for any gaps or leftover texture.
White and Yellow Interior Glue
White and yellow glue is the most common adhesive used in houses worldwide. It works well for projects that require moderate bond strength, like craftwork.
However, this property makes it unsuitable for use on furniture.
Liquid Hide Glue
When it comes to repairing wooden furniture, liquid hide glue works best. It allows a long time for proper assembly of the different parts and requires an extended curing period.
Wood Epoxy Filler
If you spot gaps or textured areas in your wood panels, epoxy is the glue to pick.
It will fill out any cracks or larger gaps for a smooth finish. Epoxy’s durability and waterproofness make it a favorite for indoor and outdoor projects.
You don’t know when a water pipe will start leaking or your taps will overflow.
Better to be safe than risk all your hard work literally going down the drain, right?
Just remember to wipe down your wood panels and sand them before applying the formula for the best results.
Use gloves and surface covers before applying epoxy, as it will not come off your skin.
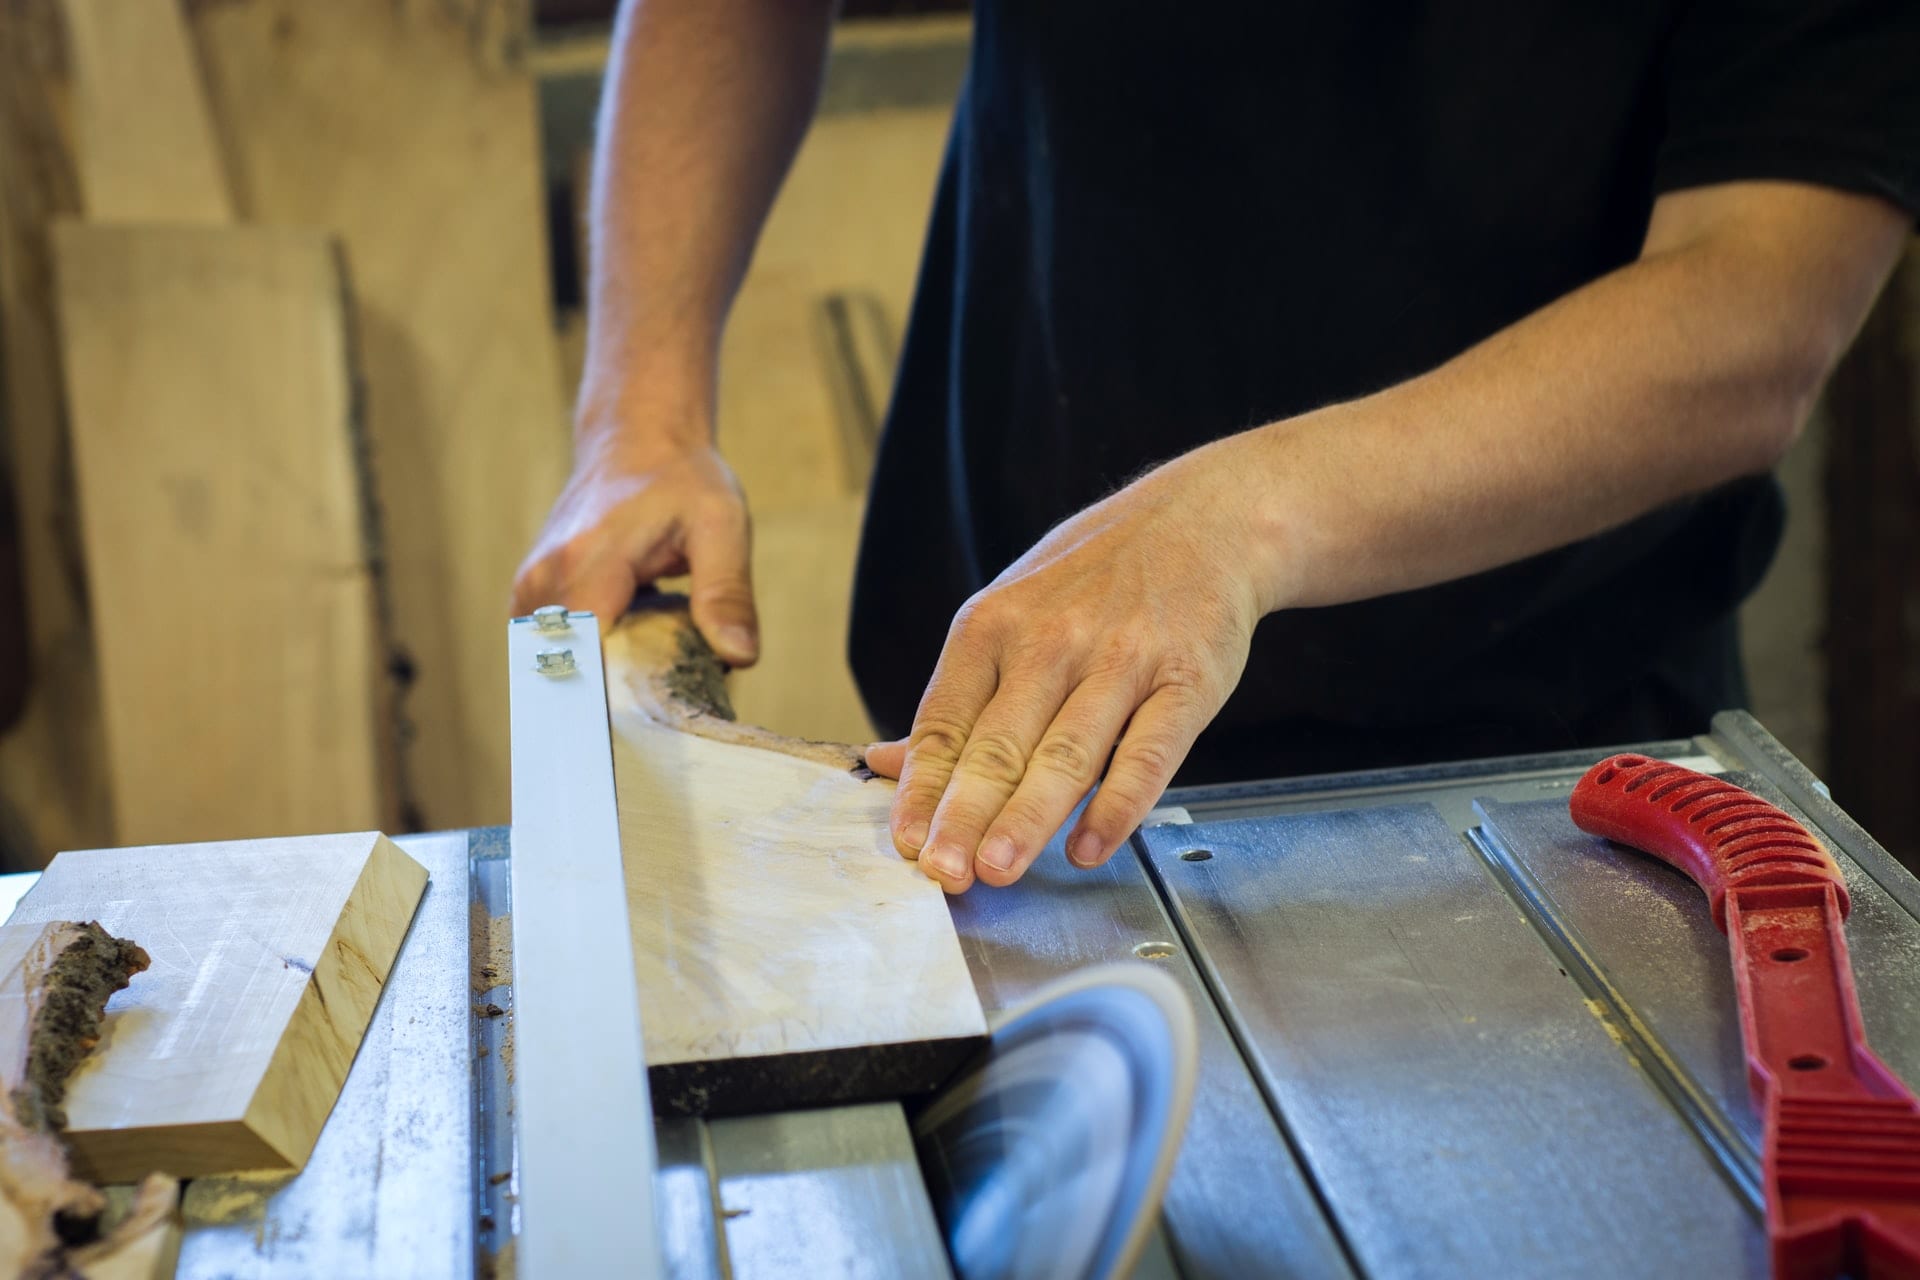
Preparing Your Workstation
Now that you’ve picked an appropriate glue for your woodwork, there is just one step before we discover how to glue wood together without clamps.
Your workstation needs to be ready before you start with your project. This way, there will be no interruptions or disturbances while you are gluing your wood pieces.
Start by cleaning up your workstation. Wipe it down to get rid of any dust that could stick to the wood glue.
Next, cover your work table with a rubber sheet so the glue doesn’t mess it up. We use rubber to make sure the wood doesn’t stick to it.
Finally, collect all the pieces you need to put together on the flat surface. Make sure they are free of dirt or shaved wood particles.
If the wood is highly textured, you should smoothen it out using some 120-grit sandpaper.
Your workstation is now ready. Pick up your flux brush as it’s time to start gluing!
How to Glue Wood Together Without Clamps
There are times when you don’t have wood clamps in hand.
If that’s the case, or your pieces are too delicate to risk using a clamp, here are some ways you can glue your wood successfully without clamps.

1) Use Masking Tape
While applying the wood glue, you will only need a little bit of support for properly fitted joints. Masking tape does wonders for this support, but you can use any easy-to-remove tape for a job well done!
Tapes keep the panels in place as you apply wood glue. They are also better suited than clamps for fragile or small pieces.
Delicate woods can be damaged or chipped by a clamp.
You won’t need to worry about the damage at all, as you will be stripping the tape off once you’ve finished gluing.
2) Grab Some Rubber Bands
This is another excellent, make-shift way of holding different pieces together while gluing.
If your project is smaller and you need a quick, disposable means of attaching the parts, get them together using rubber bands!
You can easily find them lying around the house or buy cheap at any supplies store.
The best part is that they are entirely fuss-free, just cut them off upon completion.
3) Make a Windlass
The third technique is more for the creative woodworkers out there. Collect some sticks from your backyard, find a rope from the shed, and get to work.
Wound the rope (you can even use twine!) around two sticks after setting them at opposite ends.
Then, use the third stick as your lever and further twist the rope. It will tighten your windlass to control how much pressure you want to apply to the wood joints.
That’s all you need to do. Now you can get to gluing!
4) Purchase Bungee Cords for Bulky Parts
Our last trick is for those big, bulky, or irregularly shaped wood pieces that your clamps can’t hold.
You can get bungee cords from the local hardware store and use them instead. These cords come in various lengths and thicknesses.
Don’t worry, it will be easy find something that works for your project.
Once your cords are ready, you will need to apply just the right amount of tension to keep your joints together.
A smart way is to secure the bungee cord on your workstation instead of directly on the wood.
Try out different angles and positions for placement before you start gluing.
Makeshift Clamps for Wood
If all else fails, you can make temporary clamps at home. However, this only works for larger objects. You will also need some additional tools like:
- Two 9-inch MDF wood panels
- Two cross nuts
- Two bolts
- A jigsaw
- A tape measure
- Some stationary
Steps for Making Your Wood Clamp
1) Use a tape measure to mark 1 inch on the wood. Mark another 2 inches on the top side of your panel and outline it from the opposite end. Add on two and five-inch markings too.
2) Repeat the same markings on the second panel
3) Drill ¾-inch into the marks on each of the boards. Check to see if all the holes on the two panels align with each other.
4) Put in ¾-inch cross nuts into the holes and tighter the bolts, so they are well-fitted into the wood.
5) Repeat the same technique on the other drill holes.
The two wood panels will be the faces of your clamp, and your cross nuts can be made tighter or loosened up to have a clamp-like effect.
Wrapping it Up
Although woodworkers commonly use clamps, they aren’t always practical for smaller or fragile projects. Knowing how to glue wood together without clamps is sure to come in handy in these cases.
Get inventive with your alternate solutions, think outside the box, and your task is sure to be a success!