Updated 3/10/2023
A skill for the most capable of craftsman, dovetail joints are considered to be one of the most exceptional hand-cut joints in the woodworking world.
Not only are dovetail joints a beauty to behold, but they also offer a firm and elegant fit for combining two pieces of wood.
If you’re planning to work on woodworking projects involving visible joints, such as chests, boxes, and drawers, chances are you will need dovetailing.
Today, we’ll show you exactly how to make dovetail joints with a table saw. We’ll be discussing everything from the history of dovetail joints and how they’re built, all the way to their different types and troubleshooting.
So buckle up, and let’s get started!
*Disclaimer: As an Amazon affiliate, this site earns a small commission for all qualifying purchases.*
What are Dovetail Joints?
Before you can work on making dovetail joints, you must understand what they actually are. This will help you better know your way around a dovetail joint, making it easier to construct or even fix one if you encounter any issues.
So what is a dovetail joint? It’s an interlocking joinery method used by woodworkers or carpenters for building sturdy custom wood structures, mainly drawers.
Dovetail joints pretty much look like two pieces of intertwined fingers to create a durable, tight, and long-lasting connection.
They require no mechanical fasteners to stick together like other joinery techniques, which makes them very appealing to those who prefer traditional craftsmanship.
However, some dovetail joints have a modern twist where adhesives are applied to help prevent the separation of the joint over time.
The technique of dovetail joinery can be traced back to the earliest days of mankind, predating written history.
Furniture utilizing dovetail joints was found in the tombs of ancient Egyptian pharaohs and Chinese emperors.
Anatomy of a Dovetail Joint
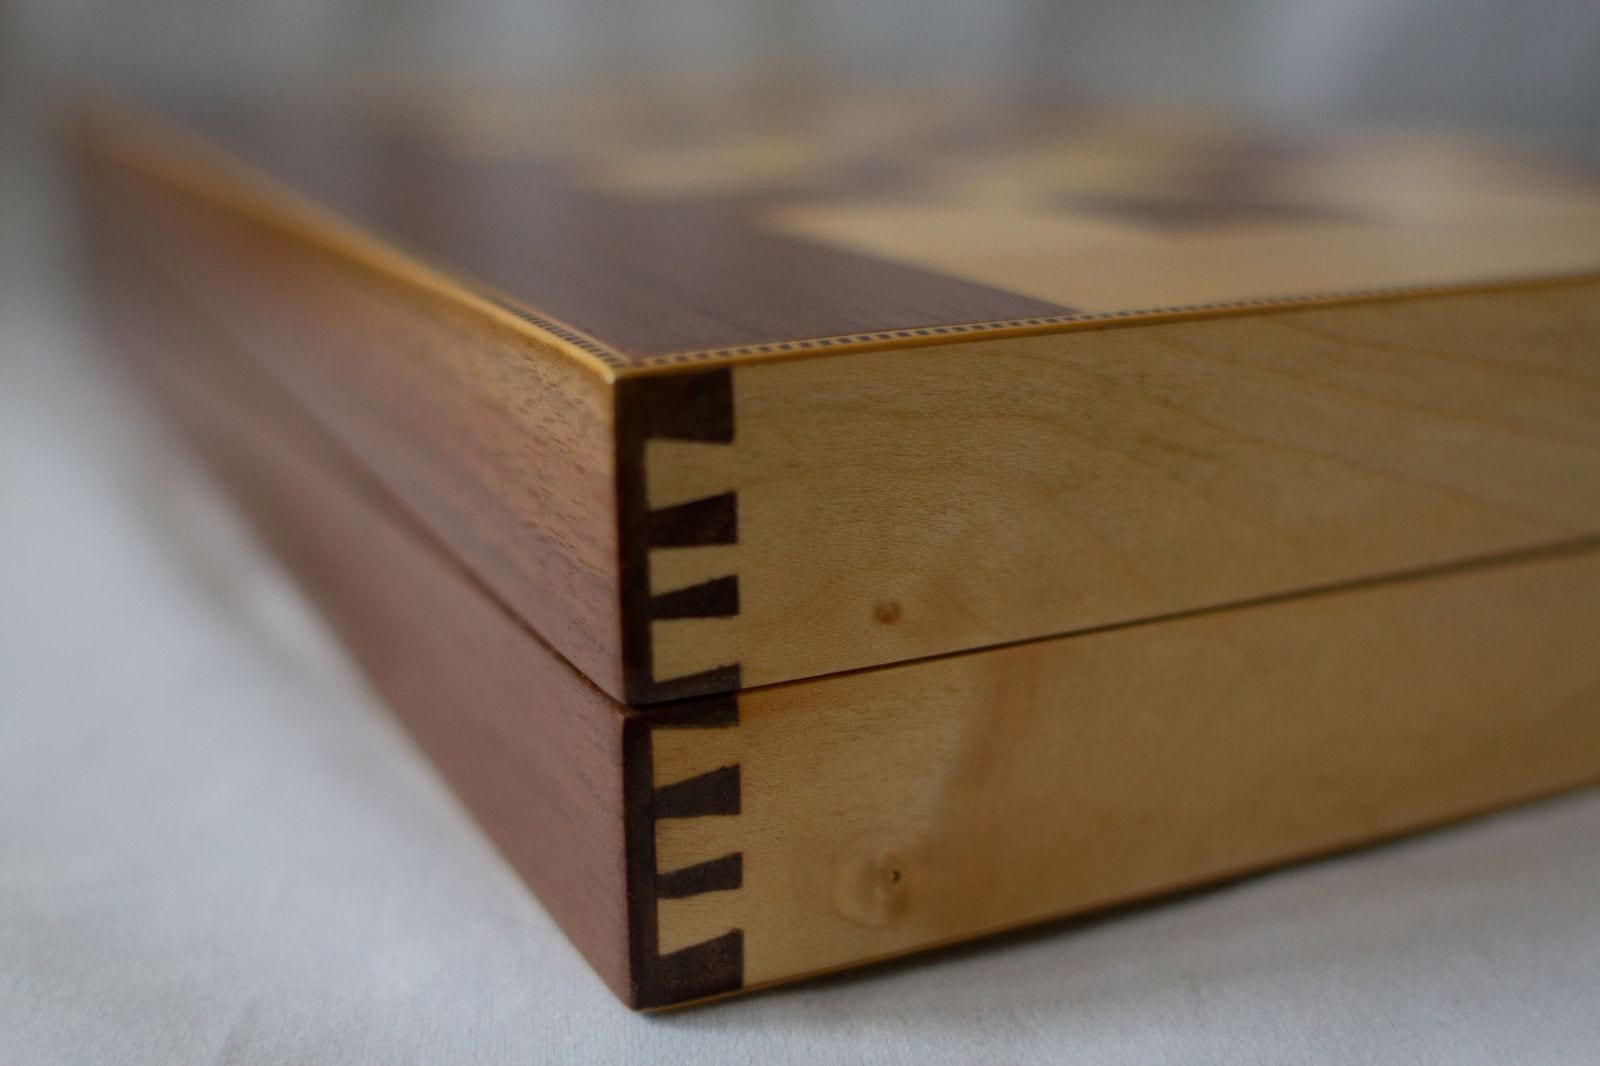
Now that you have a basic idea of what dovetail joints are, it’s time to take a closer look at their anatomy. The dovetail joint consists of two parts: tails and pins.
The tails are the flared, triangular-shaped projections that are cut through the thickness of one board. They appear similar to a dove’s tail, where the joint gets its name.
The pins are the more slender projections that are cut along the grain of the opposite board to fit in between the tails, producing a joint that’s impossible to detach in at least one direction.
If you add in some glue to the mix, the dovetail joint will also be impossible to pull apart in the other direction.
There’s an ongoing debate in the woodworking world over which part should be cut first, but it’s generally up to the woodworker’s preference as there’s no “right” sequence to follow here.
Advantages of Dovetail Joints
As we mentioned above, dovetail joints are quite sturdy and durable.
Consequently, carpenters commonly use them to create drawers, cabinets, jewelry boxes, furniture, timber framing, carcass construction, and log buildings.
Dovetail joints are evidently the strongest of all joints, and so their most significant advantage is how the interlocking mechanism makes them extremely resistant to being pulled apart.
These joints have a sizeable gluing area in case more strength is needed, and they look very attractive that they’re often used as a design statement.
Moreover, you can use just about any solid wood to make dovetail joints, including aspen, maple, oak, plywood, melamine, and alder.
Any woodworker highly appreciates the provided flexibility.
What are the Tools Needed to Make Dovetail Joints?
Observing its joinery is an easy way to spot a quality piece of furniture.
When it comes to dovetail joints, you need perfect execution to make sure you can reap all the advantages of these finger-like fittings.
A key factor in creating a beautiful dovetail joint is having the right set of tools. So allow us to introduce you to the tools needed to make dovetail joints.
Best Dovetail Saw
For dovetail work, a saw with rip teeth is a must. Such saws have the cutting edges of their teeth almost perpendicular to the length of the saw.
Here we highly recommend using the SUIZAN Japanese Ryoba Pull Saw.
No products found.
As opposed to European saws that cut the wood via pushing (so they’re called push saws), Japanese saws like this one cut the wood via pulling, referred to as pull saws.
The pulling action results in much cleaner and more precise edges, essential to create a high-quality dovetail joint.
In addition to producing cleaner lines, this Japanese-style pull saw is also lighter in weight.
It requires less effort to work with, saving you valuable energy that you can focus on perfecting the procedure.
We also really like the material of the SUIZAN Japanese saw. It’s actually made in Japan by master craftsmen using top-grade Japanese steel, which is durable, resilient, and oh-so-sharp!
Compared to conventional western-style saws, this saw is much easier to use, even for beginners.
Chisels
Of course, a set of chisels and a mallet should be on your dovetail joint tool shopping list.
You can work with a traditional joiner’s mallet or go for a small 14-ounce brass mallet to deliver a strong punch.
You can also opt for a basic chisel set in sizes ¼, ⅜, ½, and ¾ inches, which will definitely come in handy throughout your woodworking projects.
When deciding on smaller chisels, avoid ones with tall, square sides because they’ll cut into the tails while you clear the shavings between them.
So please pay attention to the sides of your chisels, you want them to clear the tails as you cut.
A Japanese chisel with sides beveled at 12 to 15 degrees is an excellent option for making dovetail joints.
A western chisel with a thin square land below the primary side bevel can also work fine.
Knives
You’ll need knives to make out the pins from the tails, so you surely understand why these tools are super important.
Many woodworkers like to use a thin single-bevel knife (for example, the V-point knife), so feel free to work with one as well.
Markers
Finally, you’re going to need dedicated markers – four of them.
Sure, you can use a sliding T bevel for marking out tails, but this is way less accurate and way bulkier than simply using markers meant for the job.
You’ll need markers with slope ratios of 1:5, 1:6, 1:7, and 1:8 to be able to make a square and a slope line across the end and the side of the board simultaneously.
You’ll also need a marking gauge to cut the cross-grain baselines.
You can use a wheel knife gauge or a Japanese model, but never use a single-point marking gauge. You don’t want to end up with fuzzy, torn lines, do you?
How are Dovetail Joints Made?
Once you have all your tools ready, it’s time to get down to business. Here’s a simple step-by-step guide to answering the question: “how are dovetail joints made?”
- Decide which wood board is going to be the tail and which is going to be the pin. This depends on the project you’re working on.
- measure the thickness of the pinboard using your marking gauge.
- With the thickness set from the pinboard, use the marking gauge to mark around the tailboard (on all four sides).
- Determine the number and size of tails and proceed to mark and measure the tails.
- Use your dovetail saw to cut the tails starting at the top. Be careful not to cut past the line you marked with the marking gauge.
- Cut the wood away to leave the tails behind. Cut across the wood towards the base of the tails on each side using your dovetail saw.
- Chisel along your thickness mark to remove the wood between the tails. Avoid chiseling too much, about four or five soft hits should do the trick.
- Chisel away from the front of the extra wood, removing small bits of wood at a time. Alternate between steps 7 and 8 until you reach the center.
- Once you get to the center, flip the board and repeat the same process starting from the other side. Don’t chisel all the way through to the other side of the wood to avoid damaging it.
- Clean up the tailboard by smoothing out any rough edges using a file or sandpaper.
- Measure the tailboard’s thickness with your marking gauge, then mark the four sides of the pinboard just like you did with the tailboard.
- Line up the boards to measure your pinboard, then trace the edges of the tailboard onto the end of the pinboard using your marking knife.
- Mark straight down on both edges with the marks along the top of the pinboard as your guide. After that, cut, chisel, and clean the wood as you previously did with the tails.
- Put your pieces together!
What are the Different Types of Dovetail Joints?
There are different types of dovetail joints that you can make depending on the project’s function and design.
Generally speaking, there are five types of dovetail joints: through, half-blind, sliding, secret mitered, and secret double-lapped. The following is a breakdown of each type.
Through Dovetail Joints
This is the most basic technique of making a dovetail joint. Here, the two pieces of wood are fitted together at their ends with a finger-like interlocking pattern, letting you see the end grain from both boards.
The through dovetail joints are typically used for joining the corners of boxes, frames, cabinets, and carcass construction.
They’re also known as plain dovetail joints (or English dovetail joints in drawer construction).
Half-Blind Dovetail Joints
Also called a single-lap dovetail joint, the half-blind dovetail joint is pretty much the opposite of a through joint because you can hide the joint from the front end.
In other words, you can’t see the end grain on the boards because the tails are housed in sockets at the ends of the board.
The most common application of half-blind dovetail joints is attaching drawer fronts to drawer sides.
Sliding Dovetail Joints
The sliding dovetail is a technique of joining two wood boards at right angles, where they intersect by sliding the tail of one board into a socket that’s not at the end of the other board, but rather in the middle.
Otherwise known as French dovetail joints, sliding joints are used to attach cabinet sides to shelves, sides to cabinet bottoms, table frames to adjacent sections, shelves to horizontal partitions, cabinet sides to front rails, sides to front drawers, as well as neck and body in guitars or violins.
Secret Mitered Dovetail Joints
This type of dovetail joint is found in the highest box and cabinet work class.
Also referred to as a full-blind mitered dovetail and full-blind dovetail joint, the secret mitered dovetail joint is totally concealed from both the outside and inside corners.
It’s created by making the outer edges meet at a 45-degree angle while keeping the dovetails hidden internally within the joint.
Such a joint is used when strength is required without a visible joint.
Secret Double-Lapped Dovetail Joints
This one is similar to the previous secret mitered dovetail joint except that you can see a section of the end grain on one edge of the joint.
Troubleshooting Dovetail Joints
It’s quite common for woodworkers to encounter some issues with dovetail joints, so here’s a quick guide to troubleshooting dovetail joints:
- If you need to remove dried glue from joints to properly repair then, use a chisel to remove the dried glue from outside the joints.
- To remove the glue inside the joints, use a heat gun with alcohol to soften traditional wood glue, or hot vinegar for animal hide glue.
- If you end up with a minor gap, use glue to fill it in, then add sawdust while it’s still wet to make your own wood putty.
- If you end up with more significant gaps, use a chisel to remove some pieces of excess wood in the pinboard. If you still have a small gap afterward, use the glue and sawdust method to fix it.
- If you got gaps of different widths, use your dovetail saw and carefully cut through the wood to make the cracks somewhat even.
Then, fill them with glue and wood shavings of similar thickness as the gap width. Let it sit for a few minutes to allow the shavings to swell and fill in the gaps.
Once dry, use a knife to cut excess shavings and sandpaper to smooth things out.
Wrap Up
There you go, everything you need to know on how to do dovetail joints.
Remember, choosing the correct type of dovetail joints for your projects doesn’t only allow you to benefit from the strength of the joinery, but also highlights the level of your carpentry skills.