Whitewashing dark-stained wood furniture has become increasingly popular as a DIY furniture makeover technique.
This process offers numerous benefits, such as giving old furniture a fresh and updated look, adding rustic or farmhouse charm, and preserving the wood grain.
This blog post aims to provide a step-by-step guide on effectively whitewashing dark-stained wood furniture.
Ready to roll?
What is Whitewashing?
Whitewashing is a unique wood finishing technique that differs from staining, painting, or liming.
It involves applying a thin, semi-transparent layer of paint, typically white or light-colored, over the wood’s surface.
This results in lightened color, a semi-transparent finish, and visible wood grain, which are the characteristics of whitewashed furniture.
To complete a whitewashing project, you will need specific tools and materials.
Here’s a list of what you’ll need:
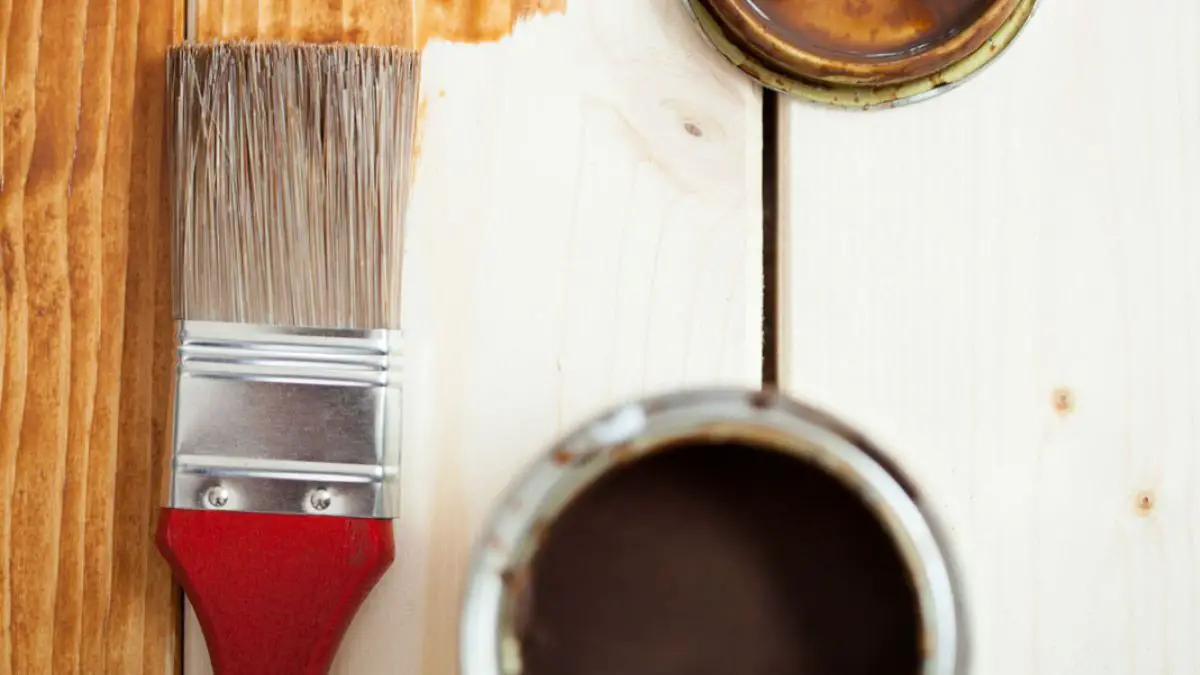
- Paintbrush
- Clean rags
- Sandpaper
- Sanding block
- Wood filler
- Paint tray
- Drop cloth or plastic sheeting
- Whitewashing product of your choice
Prepping the Furniture
Proper preparation is essential before starting the whitewashing process. This includes cleaning, sanding, and removing existing finish or paint from your dark-stained wood furniture.
Step One: Cleaning the Surface
Clean the entire piece of furniture with a damp cloth or a mild soap and water solution. Remove any dust, dirt, or grime that may have accumulated. Allow the furniture to dry completely before moving on to the next step.
Step Two: Sanding & Paint Removal
Sand the furniture using a sanding block or an orbital sander with medium-grit sandpaper (120 to 180 grit).
This will remove any existing finish or paint and create a smooth surface for the whitewash to adhere to.
Be sure to sand in the direction of the wood grain to avoid scratches.
Step Three: Filling the Gaps
Once the sanding is complete, fill any gaps or imperfections in the wood with wood filler.
Allow the filler to dry, then sand the filled areas smoothly with fine-grit sandpaper (220 to 320 grit).
Finally, use a tack or damp cloth to remove any remaining dust or debris.
Applying the Whitewash
Now that your furniture is prepared correctly, it’s time to apply the whitewash.
You have several options for whitewashing techniques, such as brushing, ragging, or spraying, as well as the type of whitewash product (water-based or oil-based).
Step Four: Choose a Whitewash Product
Start by choosing the proper technique and whitewash product for your project.
Remember that water-based products dry faster and are easier to clean up, while oil-based products offer more durability.
Step Five: Dilution
Control the opacity and adjust the color intensity to achieve the desired whitewash effect.
Depending on the product type, you can dilute the whitewash product with water or a paint thinner.
Step Six: Test-Drive
Test the diluted mixture on a small, inconspicuous area of the furniture to ensure you are satisfied with the results.
Step Seven: Applying the Whitewash
Work in small sections, applying the whitewash with a brush, rag, or sprayer, depending on your chosen technique.
Blend the edges of each section to avoid visible lines or streaks. Be mindful of common mistakes, such as applying too much or too little product, which can result in an uneven finish.
Finishing and Sealing the Whitewashed Furniture
Protecting and preserving your whitewashed finish is crucial. To do this, you’ll need to apply a topcoat sealer.
Step Eight: Choosing Sealant
Choose the right sealer for your water- or oil-based project, depending on your whitewash product.
Remember that water-based sealers are typically more eco-friendly and easier to clean up, while oil-based sealers offer increased durability and a richer finish.
Step Nine: Applying Sealant
Apply the sealer according to the manufacturer’s instructions using a brush, roller, or sprayer. Use thin, even coats to avoid drips or an uneven finish.
Allow the sealer to dry thoroughly between coats, and lightly sand with fine-grit sandpaper if necessary.
Pro Tip: You can distress or antique your whitewashed furniture to achieve a vintage or weathered look. Techniques like sanding, dry brushing, or a dark glaze can help create this effect.
Final Touches and Aftercare
You may wish to add final touches to your whitewashed furniture, such as decorative hardware, new knobs or handles, or a clear wax or glaze for added protection and sheen.
Step 10: Maintenance
Clean your whitewashed furniture regularly with a damp cloth or mild soap and water solution to care for and maintain your whitewashed furniture after the project is complete.
Avoid using harsh chemicals, as they can damage the finish. Protect your furniture from sunlight and extreme humidity to prevent warping or fading.
FAQs (Frequently Asked Questions)
Do you have to sand wood before whitewashing?
Yes, sanding wood before whitewashing is an important step to ensure a smooth and clean surface for better adherence of the whitewash. Sanding helps to remove any existing finish or paint, smooth out imperfections, and create a surface that allows the whitewash to penetrate and adhere properly to the wood.
Do you seal wood before whitewashing?
Yes, it’s generally recommended to seal wood before whitewashing. Sealing the wood helps to protect it from absorbing too much moisture from the whitewash, which can result in uneven color or warping.
Can you go over stain with a different color?
Yes, it is possible to go over stain with a different color. This technique is known as “stain over stain” or “stain layering.” By applying a new stain color over an existing stained surface, you can change or enhance the appearance of the wood.
What color stain is the hardest to remove?
Dark-colored stains, such as ebony or dark walnut, are generally considered more challenging to remove than lighter-colored stains. This is because dark stains often penetrate deeper into the wood fibers and can be more difficult to remove completely.
Conclusion
In summary, whitewashing dark-stained wood furniture involves proper preparation, technique, and aftercare for a beautiful and long-lasting result.
Remember to clean, sand, and prepare your furniture before applying the whitewash, and seal the finished piece with a topcoat sealer for protection.
Following the steps and tips outlined in this blog post, you’ll be well on your way to achieving a successful whitewashing project on your dark-stained wood furniture.