Do you want to add plywood countertops to your home? Plywood countertops are gaining popularity for many reasons. Plywood can withstand water and is very durable.
Plywood countertops can also be affordable and bring nice wood tones to your space.
It’s not difficult to learn how to make a countertop from plywood. But be aware that laminate countertops can be a little tricky to work with.
Pre-made laminate countertops can be purchased, which are already attached to the substrate.
These countertops are usually fitted with a backsplash and can be identified by the curving fillet that runs between the countertop’s backsplash and the countertop.
Although they are often curved at the corners and top, there are many styles.
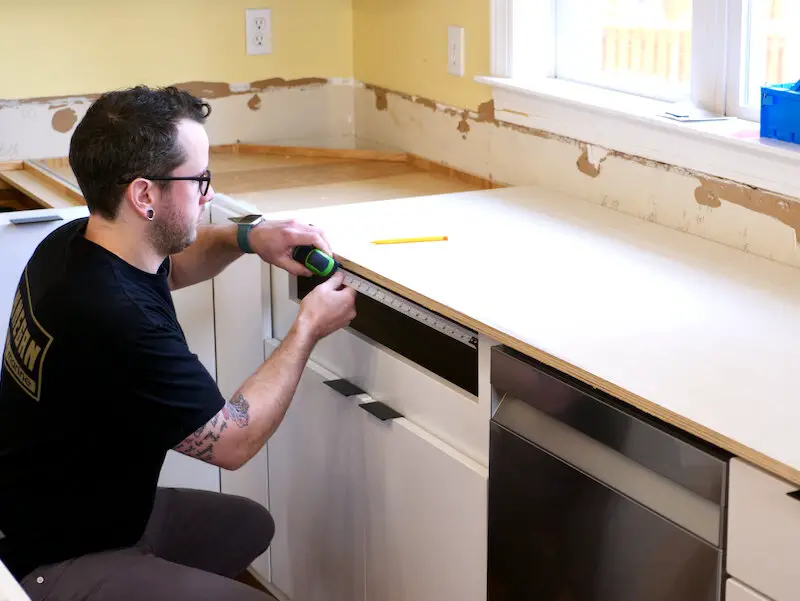
Measurement and Construction of the Countertop Substrate
For a DIY laminate countertop, the countertop substrate should be 3/4″ thick MDF (medium-density fiberboard).
This will give you a consistent product that is free from voids and will provide a smooth finish.
Measure and cut a laminate countertop by placing it over the front edge of your cabinets by 1 inch. Cover any edges that touch appliances with your countertop.
Use a table saw, circular saw, or jigsaw to cut the MDF. It is important that the edges are extremely straight and accurate.
Even though the countertop is 3/4″ thick, the edge must be 1-1/2 inches thick. Use double thickness around the edge.
Turn the countertop upside down and attach MDF strips all the way around. Attach the front edge first, then the sides, and finally the back.
You should attach these strips to the countertop using wood glue and 1-1/4″ drywall screws. They go through from the strip side (the underside).
You should not drive the screws too deeply into the material. This could cause the screw point to pierce through the countertop substrate.
You must also ensure that the screws are secured to the countertop substrate’s outer edge.
When you have assembled the countertop substrate, flip it over and sand the edges to make certain that the seam between the top and bottom pieces is smooth and even.
To smooth out the seams between countertop pieces, sand the top.
Construction of the Substrate to a Hardwood-Edged Laminate Countertop
You will need to integrate the hardwood edge into your laminate countertop if you choose to build it with a hardwood-edged laminate.
These are usually made from hardwood 1″x2″s that actually measures 3/4″ x 1-1/2″.
This means that you should cut countertops with 1/4″ more than the cabinets’ fronts. As mentioned, the MDF spacer strip attaches to the countertop’s underside.
Once this is attached, attach the hardwood edge strip to both pieces with glue and finish nails.
Mounting the Countertop
Attach the countertop to the tops of the cabinets using 1-5/8″ drywall screws. They are inserted from the bottom through the corners of the cabinets and into the countertop.
Before attaching the countertop, be sure to push it back into the wall.
Once the countertop is in place, you can add the backsplash. The backsplash is typically a single thickness of MDF 3/4″ thick, 4 inches high.
Attach the wall using finishing nails.
Installation of the Laminate
For most countertops, the backsplash is the first thing you need to do. You will need to cut and place the laminate backsplash first.
However, you should also consider your material requirements for the entire project so that you have enough material for cutting the main portion of the cabinet.
You should cut laminate slightly larger than the edges (1/2 inch for tops and 1″-2 inches for bottoms), and then it should be trimmed after it has been installed.
To prevent the laminate from breaking, always support it when cutting. So, if you are cutting it with a circular saw, place two 2″x 4″ s on the workbench or floor, with the cut line between them.
This will ensure that both sides of your cut are supported. Use sharp blades to cut the laminate.
Remember to only cut the top side!
Install your pieces in this order:
- Top of the backsplash
- Backsplash
- Side edges
- If you are using a hardwood edge, leave the front edge
Top Edge
The top edge of the backsplash is unique in that it is butting up against the wall, which probably won’t be perfectly even.
Lay the laminate strip to be used as the backsplash top on the backsplash.
Mark the entire length of the strip using a permanent marker in contrast to the laminate color.
Gluing and Trimming Laminate
Contact cement is used to bond countertop laminate to the substrate. This laminate is known as contact cement because it bonds to the substrate.
It is important to find each piece and place it exactly where it belongs the first time.
The adhesive can be applied to the back of the laminate and to the substrate with a brush, paint roller, or spreader.
As a spreader, you can use a scrap of laminate with a straight edge. The MDF substrate will need two coats.
The laminate only requires one coat.
Before attaching the laminate, let the adhesive dry until it is tacky. Spacers can be useful to hold the laminate from the substrate while you position it.
Once the spacers are in place, place the laminate on top of the countertop and adjust it to fit.
Starting from the center, take out the spacers one by one, and press the laminate onto the countertop.
Once you have attached the laminate to the countertop, rub it down with a rubber roller or a padded cloth. This will ensure that the piece is in good contact.
Trimming Laminate
This is usually done using a laminate trimmer that holds a flush-cutting bit. You can also use a router with a laminate trimmer, which is basically a small router.
However, with a router, it will be harder to get into inside corners and all the way back to the wall.